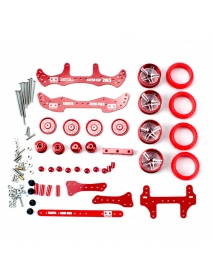
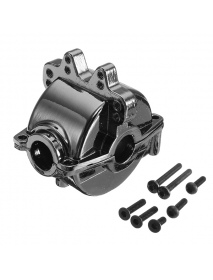
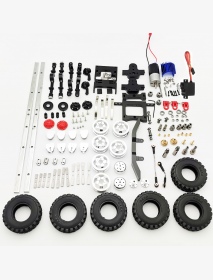
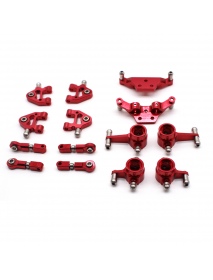
1 Set MA/AR Chassis Modification Spare Parts Set Kit With FRP Parts For Tamiya Mini 4WD RC Car Parts
Using way:
Installation tool: tire puller tire loader screwdriver nut sleeve 1.mm hand drill (using a hand drill before drilling a large screw)
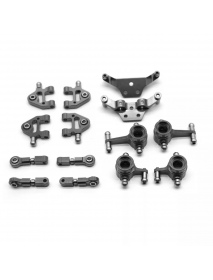
Faucet assembly:
The first step: remove the front and rear guides and rear brakes of the original car
Step 2: Unpack the faucet kit
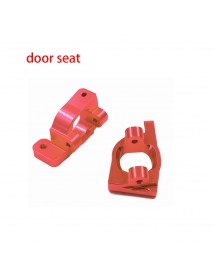
1. Locate the faucet and compare the screw holes to the corresponding holes.
2. Screws pass from bottom to top through the chassis and faucet
3. Plus nut fixing
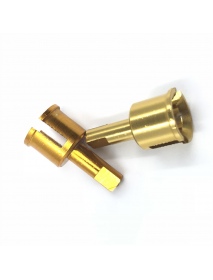
4. Add the order on both sides, so that the gasket (protrusion head upwards) - bearing shaft - guide wheel copper tube - double guide wheel - bearing shaft - gasket (protrusion head down) - 6mm aluminum tube - wave head, Install in order, the same on the other side
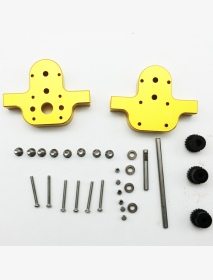
Middle wing installation:
The first step is to open the middle wing bag, pass the screw through the corresponding hole in the middle wing, fix it with a nut, then put it into the big nail, add the wave head.
In the second step, the middle wing is fixed to the chassis, and the middle wing is mounted on the chassis from the bottom, and the small screws of the middle wing bag are taken out, and the middle wing is fixed to fix the chassis.
The third step, after fixing the screw, the upper nut
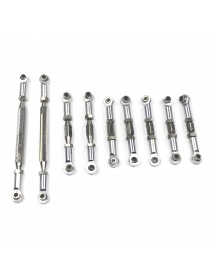
Phoenix tail installation:
1. Remove the rear guide wheel and the bearing shaft, and use the tire puller to drive the bearing shaft into the guide wheel, from bottom to top: gasket, gasket, aluminum tube nut, aluminum tube, gasket, gasket, wave head
2, the order of the fittings of the phoenix tail is: screw-shield (protrusion head up)-guide wheel-shield (protrusion head up)-12mm aluminum tube-phob tail-nut-12mm aluminum tube 0 gasket- Guide wheel - gasket, wave head
3, take out the phoenix bracket and the ice cream bar, and fix it with the shortest screw and the corresponding hole on the nut.
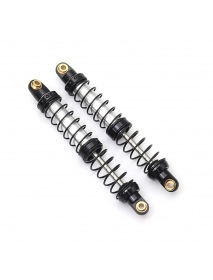
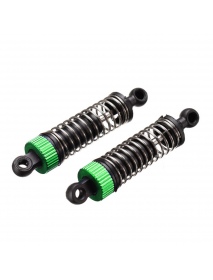
4, take out two 30mm screws through the ice cream bar, use the nut to set, then add the shock absorber, and finally add the wave head
5. After the phoenix frame and the ice cream bar are fixed, remove the screws to fix the bracket and the low plate.
6. Remove the phoenix tail with the guide wheel installed and fix it from bottom to top with screws.
Package included:
1x Tamiya Mini 4WD RC Car Parts(with tire)